Nextcloud All-in-One
This automated deployment is based on the guide at https://github.com/nextcloud/all-in-one
Deploying Nextcloud All-in-One
Prerequisites
You will need to create a DNS record for a new subdomain on your domain. These steps will be unique to your domain registrar, but it should be simple to create an A record with the desired subdomain pointed to your server's IP address.
In this example the we'll choose nextcloud as the subdomain, so the URL for the server will be nextcloud.example.org
Single sign-on (SSO)
If you would like to use single sign-on (SSO), you will need to have an IdP solution in place. Otherwise, your users will log in with username and password. Instructions for setting up Nextcloud with Authentik are provided below.
1. Edit Inventory file
The host group for Nextcloud is [nextcloud]. Place the following information under that group.
The standard vaules:
- The server's IP address.
server_tag=- This could be "nextcloud"ansible_user=- The non-root useransible_become_pass="{{ nb_become_pass }}"- or change variable to the appropriate value in the Vault.ansible_ssh_private_key_file="~/.ssh/id_ed25519_<server_tag>_<nonroot_user>"- The SSH key used to authenticate onto the server.
Extra values:
- None.
Example:
[proxy]
203.0.113.73 server_tag=nextcloud ansible_user=serveradmin ansible_become_pass="{{ nextcloud_become_pass }}" ansible_ssh_private_key_file="~/.ssh/id_ed25519_nextcloud_serveradmin"
2. Edit Ansible Vault variables
Edit the Ansible Vault file:
ansible-vault edit group_vars/all/vaulted_vars.yml
Include the following settings:
# Nextcloud
# If you have a unique credentials for this server.
nextcloud_become_pass: <sudo password for non-root user>
3. Run Ansible playbook command
Post-deployment setup
4. Connect Nextcloud AIO to NGINX Proxy Manager
Get Netbird IP address.
To find your Netbird IP address, you can check your Netbird management interface, or you can run the command on the Nextcloud server:
In NGINX Proxy Manager
Add a new entry with the Netbird IP address and port 11000.
5. Connect to the Nextcloud AIO interface on port 8080
To access the management interface, simply go to the IP address for the server. This will look like https://ip.address.of.server:8080. (Going to the domain first can cause some problems. See here at Step 4.)
Accept the risk from Browser. This will be the first think you see.
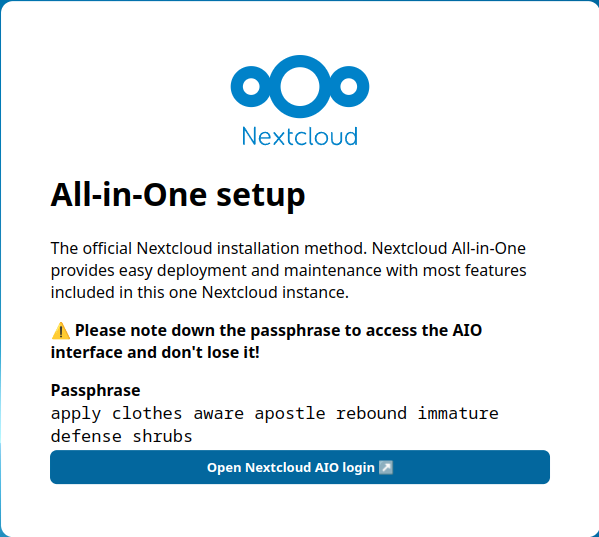
Save this passphrase into your password manager. Click "Open Nextcloud AIO login".
6. Log in with your Nextcloud AIO passphrase
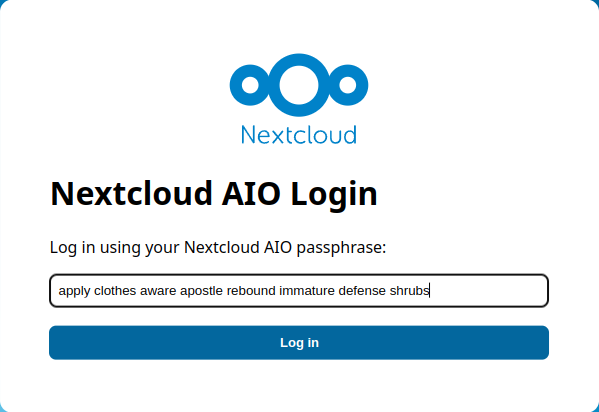
Click "Log in".
7. Enter your Nextcloud domain
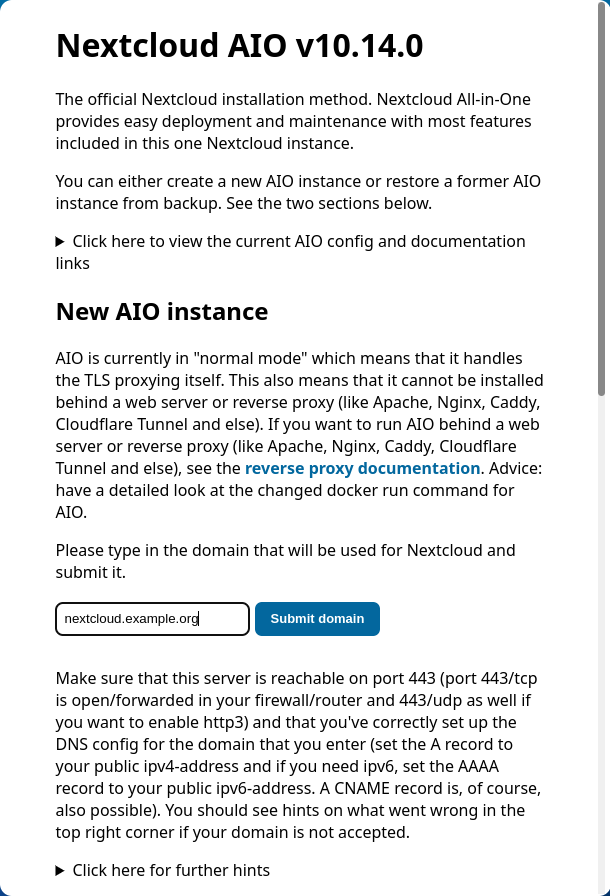
Enter domain for Nextcloud server. For example, nextcloud.example.org. Click "Submit domain".
8. Select container options
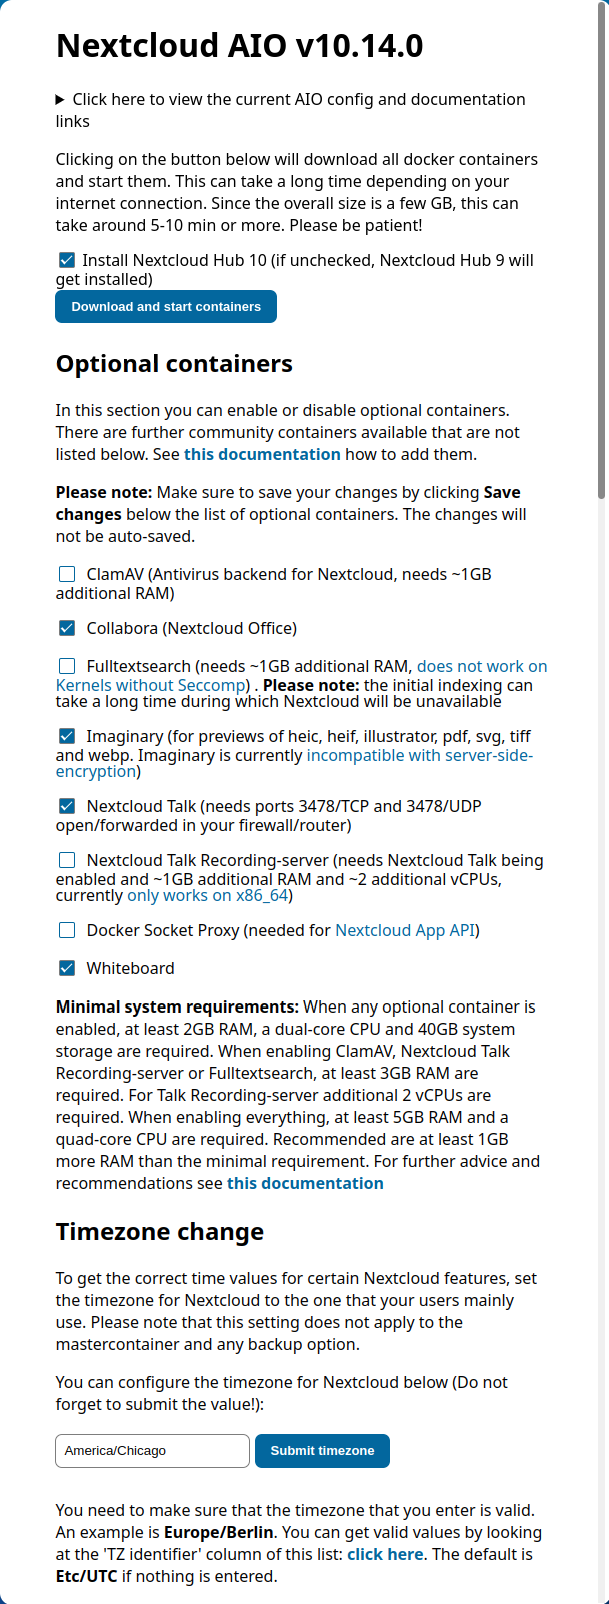
Nextcloud Hub version
As of the time of the writing, the Nextcloud AIO master container offers a choice to install the new Nextcloud Hub 10. Check that box if desired (recommended).
Optional continers
These are additional containers that adds extra functionality to your Nextcloud experience. Pay attention to the system requirements as some of these options need more RAM.
-
ClamAV (Antivirus backend for Nextcloud, needs ~1GB additional RAM)
-
Collabora (Nextcloud Office) This is for real-time document editing
-
Fulltextsearch (needs ~1GB additional RAM, does not work on Kernels without Seccomp) . Please note: the initial indexing can take a long time during which Nextcloud will be unavailable Recommended for organizations that process a large amount of documents.
-
Imaginary (for previews of heic, heif, illustrator, pdf, svg, tiff and webp. Imaginary is currently incompatible with server-side-encryption)
-
Nextcloud Talk (needs ports 3478/TCP and 3478/UDP open/forwarded in your firewall/router) This is a replacement for Microsoft Teams. Other solutions for this are discussed on this site as well.
-
Nextcloud Talk Recording-server (needs Nextcloud Talk being enabled and ~1GB additional RAM and ~2 additional vCPUs, currently only works on x86_64)
-
Docker Socket Proxy (needed for Nextcloud App API)
-
Whiteboard This is actually a fun app. Highly recommended!
Confirm your timezone
Enter your preferred timezone into this box and click "Submit".
Finally, click on "Download and start containers" at the top of the page.
9. Spin up the containers.
This step can take a while (up to 20 minutes), so sit back and enjoy some coffee or tea. In the background, Docker will pull all the required and optional containers and start them. Some of the containers, when run for the first time, perform several initializaiton and installation tasks. You can always click on one of the containers' statuses to see that containers log.
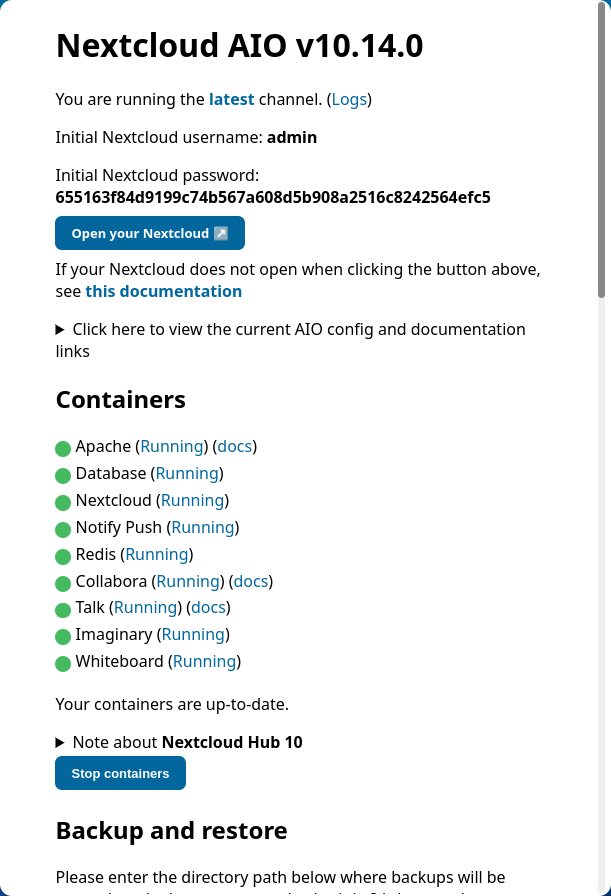
Once all are running and ready, you will be provided initial credentials to log into your Nextcloud instance. Click "Open your Nextcloud", log in with the initial admin credentials, and enjoy!
Updating the containers
All updates to the Nextcloud components, including the master container, are performed from the Nextcloud AIO Interface.
To update the Netbird container, SSH into the server and run:
Or run this Ansible playbook.Restricting access to the Nextcloud AIO Interface.
You may not want to be able to reach the Nextcloud AIO Interface through the server's public IP address. These steps will restrict open access and only allow access from the Netbird network.
Get Netbird IP address.
To find your Netbird IP address, you can check your Netbird management interface, or you can run the command on the Nextcloud server:
Edit docker-compose.yml file.
Under the nextcloud-aio-mastercontainer section, look for ports:. Add your Netbird IP address in the front of 8080:8080 so it looks similar to this (there should be two colons in the line).
Restart Nextcloud AIO master container.
Now you will only be able to access the Nextcloud AIO interface through the Netbird network.